Written By Tony Sudak - Walden Local Butcher.
Visit us downtown at 316 A Shawmut Ave, Boston, MA 02118
Remember to reserve your pasture-raised turkey here!
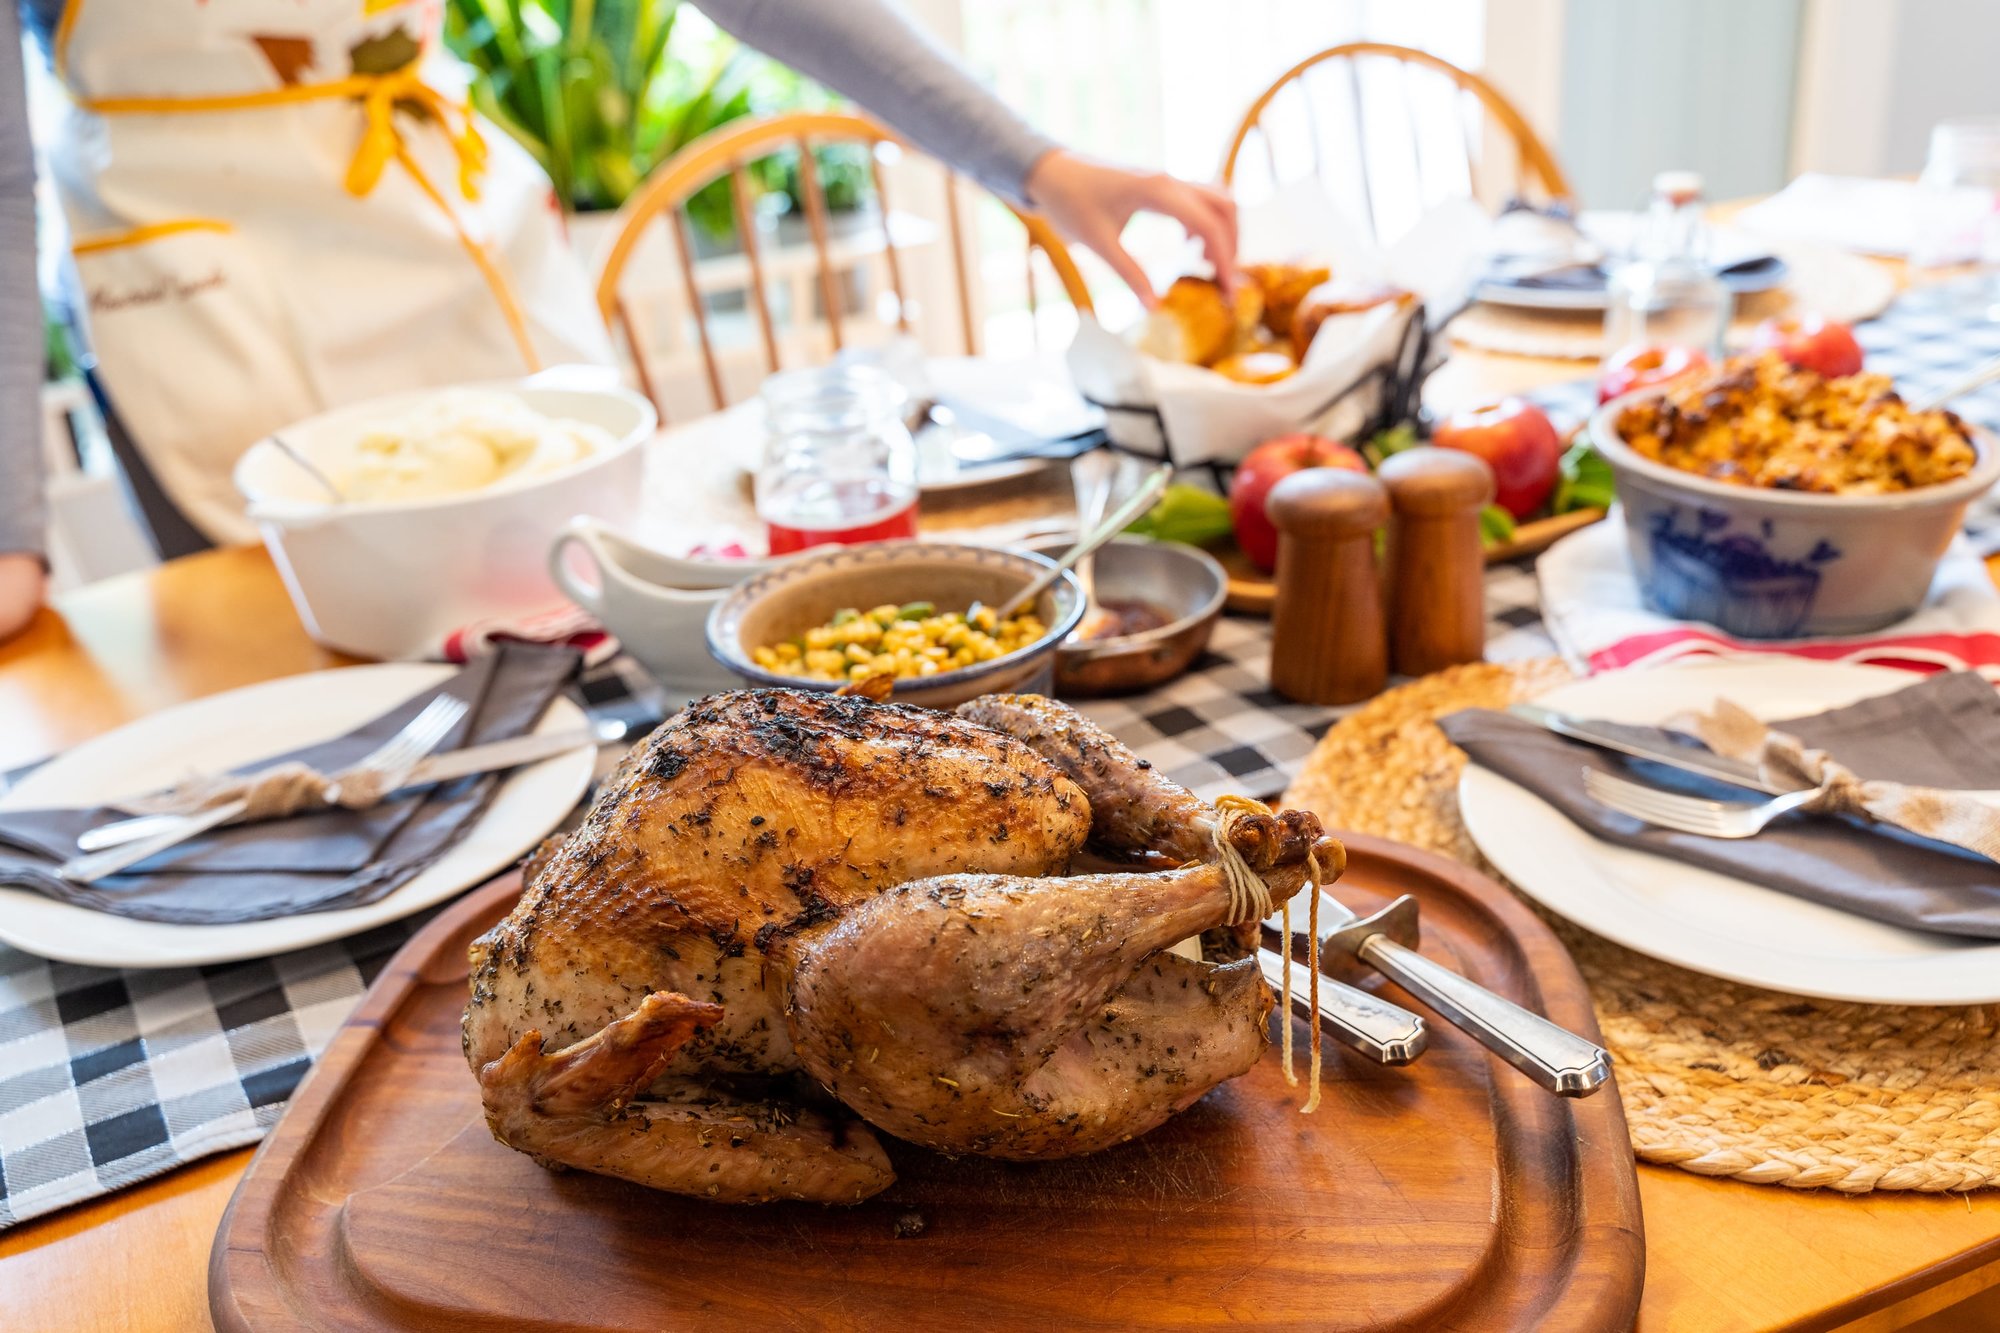
Thanksgiving is coming up fast and furious! When you harken back to fond childhood memories of the big day what do you think of? Maybe you think of your family sitting down to a meal while the head of the table carves the turkey and piles a big spoon full of delicious mashed potatoes on your plate? If you’ve never carved a turkey before, worry not! I’m here to tell you that it’s not as complicated as you think.
So tie on that apron, grab your turkey, and let’s see if we can make the upcoming big day a bit easier!
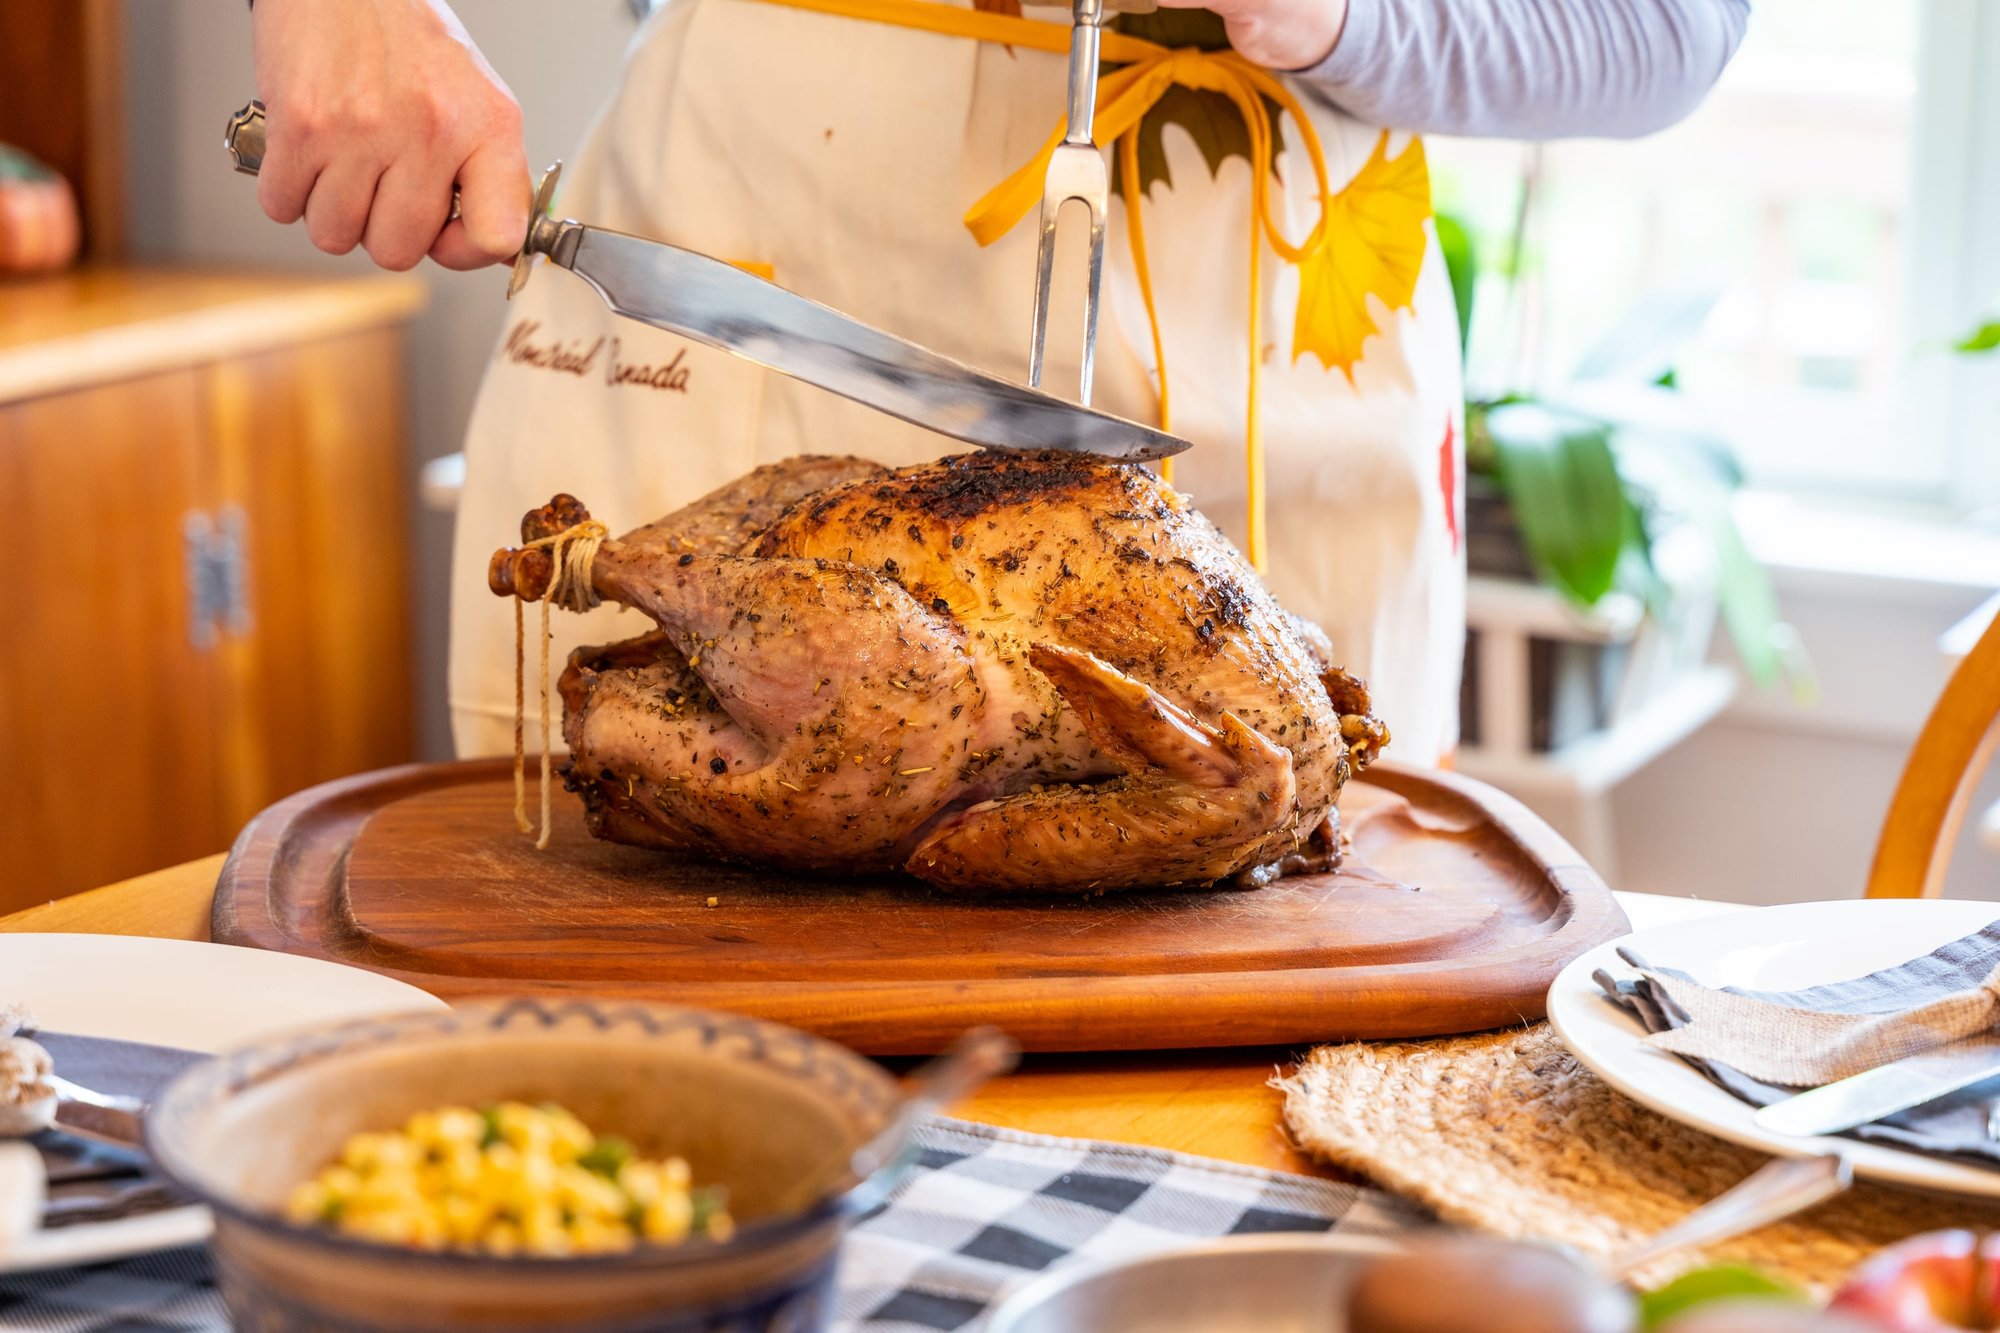
My step-by-step process for carving a turkey
Getting down to the bones and cartilage (get it because it’s a Turkey…nuts and bolts…more of a car analogy…Nevermind…) I hope I pulled the curtain back a bit on turkey carving. Breakdown is essentially the same as a chicken, just on a larger (some say grander) scale.
I tend to start the carving process with the Turkey rested from the oven to retain the juices and avoid having a dry bird. I have the bird facing away from me, and drumsticks right close to my stomach, on a cutting board big enough to hold the Turkey with some extra room to maneuver. Regardless of the bird that I am carving I always start at the legs first, with a sharp (and I can not emphasize that enough!! SHARP…more on this later) knife and gently cut along the skin where there is a gap between the breast and the upper part of the thigh. Opening this area will cause some liquid to escape, don’t worry it isn’t going to be the end of the world. This will expose where the leg and thigh connect to the spine, gently grab the leg and thigh and pull down towards the floor you should hear a pop sound that is the joint popping from the spine (we have all seen those realignment videos on the socials right? Similar just not as loud). Exposing the joint will show you where to line your knife up and cut along removing the leg and thigh from the bird. To split this into its separate pieces, gently probe the leg with your finger to find the joint that connects the leg and thigh together, and come down with your knife to split it. Lay those pieces on a serving platter and repeat with the other leg. You may have to rotate the bird facing you to get to the other side! (I try to avoid coming across the body with a knife, it’s a recipe for everyone having to get McDonalds for thanksgiving while you are in the ER).
Moving on to the breasts, both legs and thighs should be off at this point and laid on a platter. Starting with the Turkey facing you here, there should be a wishbone still in the bird. Take your finger and right above where the base of the neck is, and feel around for it. Once you have a good handle on it, gently take the tip of your knife and carve around it to remove it from the bird (save it to make a wish later). Now put the bird back into its original position and remove the wings from the breasts.
There are (or at least should be) 3 parts of the poultry. The wings - the wing tip, the flats, and the drums.
The drums are what is connected directly to the breast and that’s where your trusty knife comes in. Right where they connect is another joint. Take the tip of your knife and separate the wing from the breast. Break the wing into its three pieces at the joints and reserve the wing tip for turkey stock (a bit of foreshadowing, you’re going to save the other one too, and the carcass) tomorrow. Plate the flat and drum and repeat with the other side.
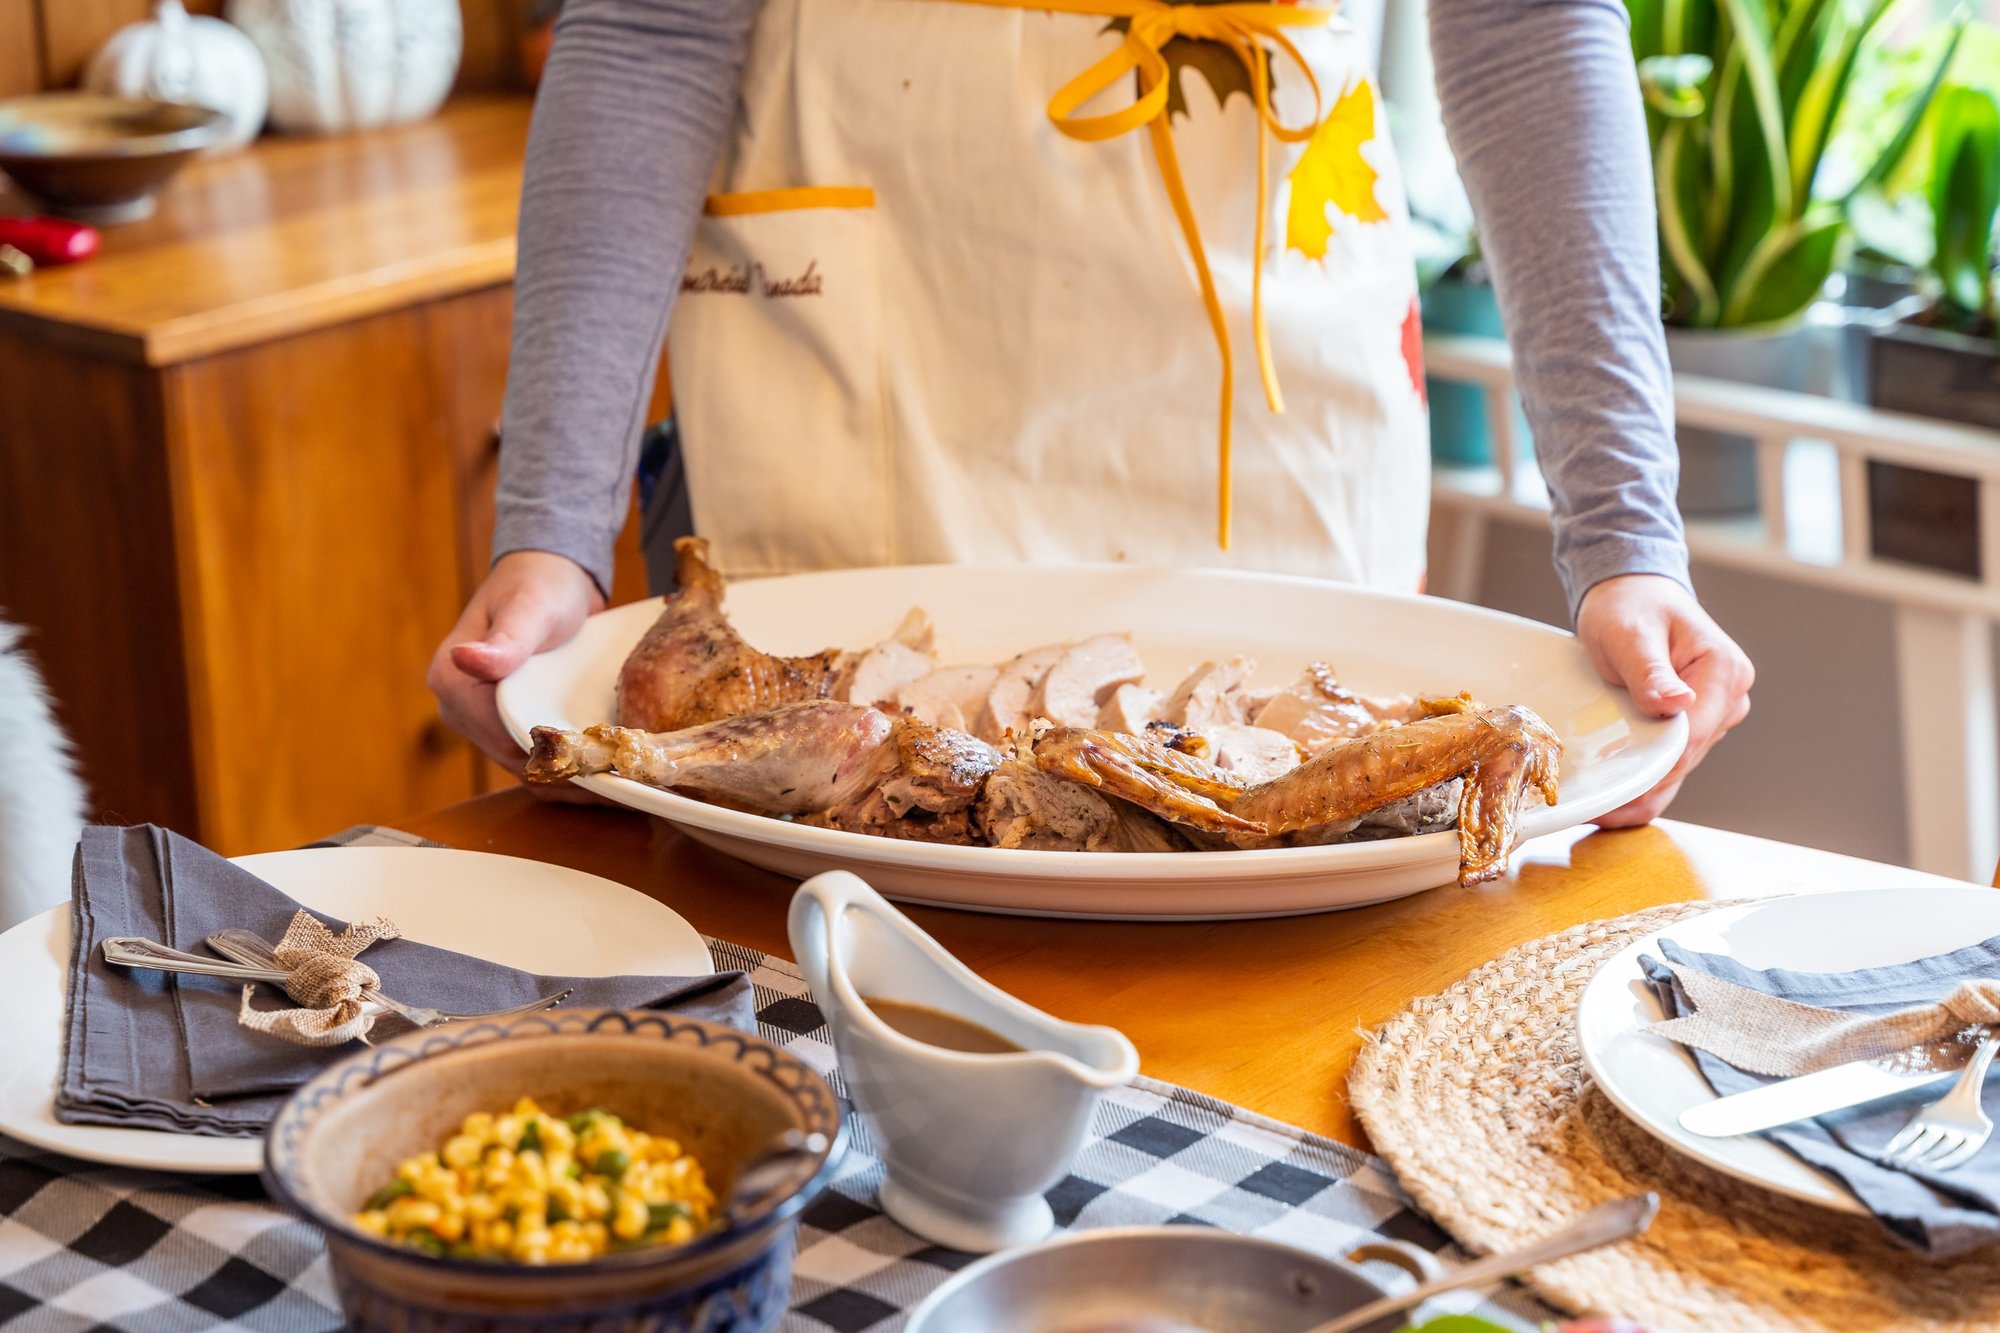
Final stretch! Right where you removed the wishbone, place your finger and find the middle of the breast bone. It runs from the top of the breast to the legs. I am right handed so I start on the left hand side. Place your knife slightly to the left of the breast bone and slice from where you removed the wishbone to the bottom of the breast. You should have a bit of an opening to work with now. Starting from the top again gently put your knife where the slice starts and ride along the ribs, separating more of the meat from the carcass. Be careful. The Turkey tender is just below the breast, so utilize the tip of your knife for most of the removal process of the breast. Repeat this step until the breast is cleanly removed from the carcass and thinly slice the breast against the grain and fan it out on the serving tray. Repeat with the other side.
Voila! A beautifully carved bird that even the pickiest of houseguests can appreciate! But wait! There’s more!!!
There are some secrets to harvest from the carcass that only the professionals know about…and soon you will too…
The oysters, these little magical nuggets are all the way back in the leg portion of the bird. They reside right above the hip joint. They are super tender and juicy bite size little snacks that you get for carving the Turkey! Eat them both yourself or share one. Believe me you don’t have to! All the birds I’ve carved, no one has ever seen these bits, they are my payment for having to carve!!
P.S. don’t just haphazardly toss the carcass in the trash, let it cool and ziplock it to make turkey stock for a plethora of Turkey-centric leftover meals. Turkey soup, Turkey pot pie, Turkey ala king, you get the idea.
Can you carve a turkey with a chef’s knife, or do you need a specialized carving knife?
Can you carve a Turkey effectively with a chef’s knife? I mean, yes you can but SHOULD you is the better question. No you shouldn’t is the answer. My dad always told me that he is a “tool guy”. He has more tools than Norm Abrams (this old house anyone?), but every tool has a job and the same thing goes for knives, every knife has a job. Some may say, “but a knife’s job is to cut” . Yes I get that and that is a very broad stroke, however, specific blades cut specific things. Let me explain.
A chef’s knife is the workhorse of the kitchen - meats, vegetables, butters etc. The chef’s knife can cut it all but its length is the issue here, not the equipment. A carving knife has a longer blade that is typically thinner than a chef’s knife too, which helps when it comes to slicing.
With a carving knife, the main point is to make as few cuts as possible. One fluid stroke across the meat for a clean uniform slice. We have all seen pieces of meat, not just Turkey, that looks like it was chewed through by a dog. If it doesn’t look good, inevitably people won’t want to eat it. You eat with your eyes first.
Now that being said, most (if not all people) have both types of knives in their home kitchens. Get familiar with both, it will only help you later down the road. When I am carving, I have both on the cutting board. A chef’s knife will be better for cutting through the joints or some tougher cartilage, a carving knife will give you a better sliced product. Use the right tool for the right job!
While we are on the subject, the right tool requires the right maintenance…KEEP YOUR KNIVES SHARP!!! Find someone to sharpen them for you or (and I can’t recommend this enough) with a knife sharpening stone and do it yourself! Sharp knives are easier to work with and believe it or not, they hurt less when you cut yourself. A dull knife requires more force to get through something which turns into more force going into your finger, or hand! KEEP THEM SHARP!
Countless people have come into the Walden Local Butcher shop and have said something along the lines of “Oh your knives are so much better than mine, I could never cut something that nicely!” And while that is absolutely true (a lot of thought went into the knives that I wanted to invest in, and use on a daily basis so yes I’m a bit extra when it comes to my tools of the trade…) but if people kept their knives sharp, they could get a lot more done!
I like using the tri-stone, it has three different stone settings - course, medium, and fine. Start on course and work both sides of the knife equally. I hate being super specific with this because I have no idea how often you sharpen your knives so they could need quite a bit of work! Start on the course setting and work your way to fine. If you can cut through paper with little to no resistance you are good! If you keep a solid edge on your knives they will last for quite a long time!!